Getting Started with Dataverse Plugins – Part 1
- Apr 6
- 5 min read
When it comes to Power Apps and Dataverse, JavaScript and PowerFx are great, as are Business Rules, but what about validating the data that users load into Dataverse via methods such as imports? Our JavaScript functions are bypassed, Business Rules only go so far, and Power Automate, while a fantastic tool, only really kicks in once our record is in the database. So, what is our solution to developing slightly more complex data validations and interrogations at the point of creating a record? Enter the plugin!
In this blog I won’t go into detail about the right places and situations to use plugins, I’ll cover that in another blog. What I want to do here, is show you how to get started with plugins, including installing the required software, creating your first plugin, where AI can help and registering your plugin in Dataverse. If you’ve looked at plugins before, you’ve probably seen they are written in C#, but don’t let that put you off, in this world of AI you’ll be amazed at what’s possible.
There is quite a bit to cover so, rather than covering this all off in one go, I’m going to break it down into a few instalments. In this first instalment we’ll cover the main software you’ll need for developing plugins.
So, lets jump in with getting the right software installed...
Running the right version of .NET
The first step will be to check the version of .NET on your PC. Modern plugins target versions 6 and 8, but it’s advisable to be on version 9 or above. To find the version of .NET your device is currently running, go to a terminal window (Command Prompt or PowerShell) and run the command ‘dotnet --version’. Now, I’d actually reset my device before I started working on this blog, so I got the following message when I ran the 'dotnet --version' command:

If you find you get the error above, have a lower .NET version than 9 or just want to be on the latest version (usually a good idea anyway), then go to https://dotnet.microsoft.com/en-us/download, download and install the latest version. At the time of writing, this put me on version 10.0.201.
If you then re-run the ‘dotnet --version’ command within the terminal, you should see something more like the below:

Visual Studio Code
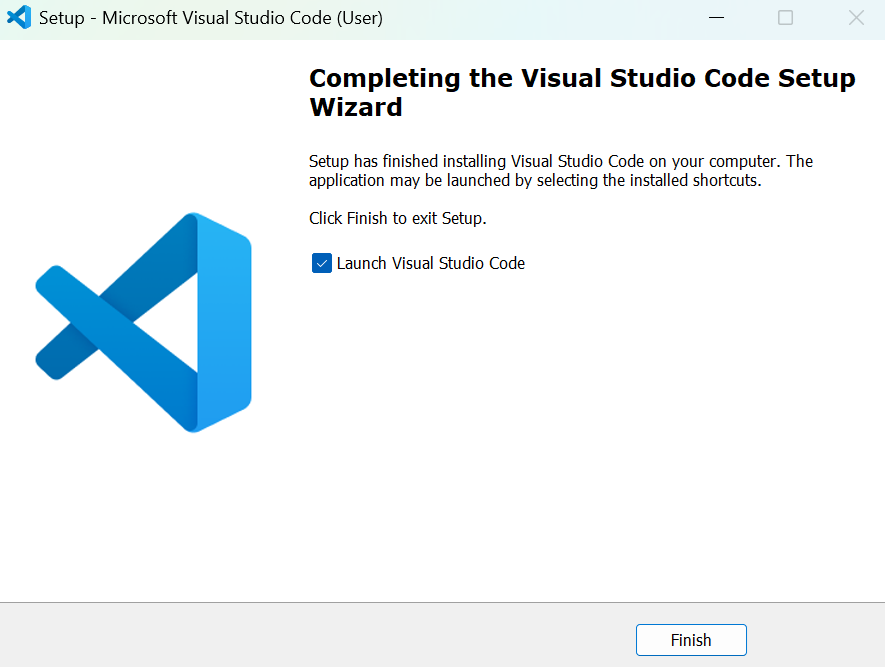
With the right version of .NET confirmed, next install Visual Studio Code. Go to https://code.visualstudio.com/ download the latest version of Visual Studio Code and install it. At the end of the install, you should see the window showing a successful installation.
Next, open Visual Studio Code, if you haven’t already, and click on the Extensions icon on the left. You will now see the panel for the Extensions Marketplace. In the search box, enter ‘Power Platform Tools’ and install the entry at the top of the list.
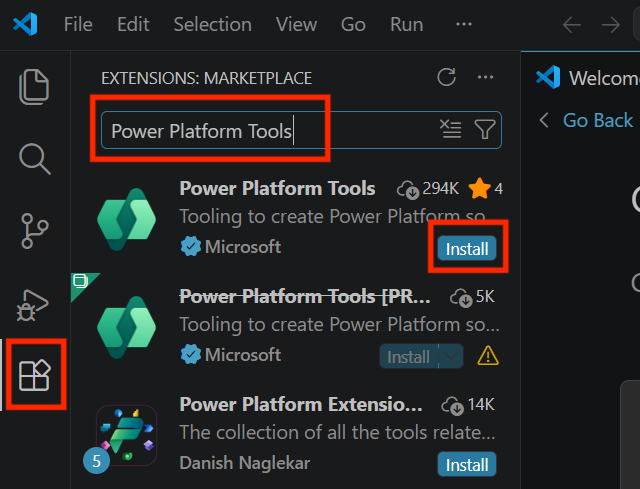
Once installed, this will then be displayed within your installed extensions.

Now, we need to install PAC CLI, this gives us a library of commands we’ll become familiar with using in the terminal. There are two ways to install this, the first is by going to https://learn.microsoft.com/en-us/power-platform/developer/howto/install-cli-msi and installing this via the .msi file. Alternatively, you can simply use the command 'dotnet tool install --global Microsoft.PowerApps.CLI.Tool' within the terminal.


Plugin Registration Tool (Optional at this point)
At this point, other than the Plugin Registration Tool, which we’ll add in later (when the install makes more sense), you have everything you need to build the first plugin. However, if you want to skip ahead and have everything installed now, you can just run ‘pac tool prt’ in the terminal.
Node.js (Optional)
One additional install that can often be useful to add, is Node.js. If you’re in the world of plugins, it’s likely that PCF component development isn’t far behind, so you might want to just add this in now. Go to https://nodejs.org/en and install Node.js from the .msi installer.
Allocate The Default Environment
Before I end this first blog, one final thing we’ll do is just allocate our default environment. By this, I don’t mean the actual default/personal productivity environment – I mean the environment that we’ll load our plugins into, the one you do your development work in. If you’re developing plugins, then you should really be developing in a separate environment from the one where you’re working with live data. Plugins are powerful and can really screw things up for users if they are deployed without thorough testing so, it's always best to build in one environment and then deploy into another, ideally you should have environments for Development, Test/UAT and Production, in some cases, you may also have a Pre-Production environment. In this step, we will be referencing whichever environment it is that you develop in.
The first step is to run the following command in your terminal ‘pac auth create’, you will then be prompted to sign into your M365 account in a separate window. Sign in with whichever account you intend to develop with. Following this step, you should see a success message.


Next, run the command 'pac env list’ in your terminal, to get a full list of environments.

From the list produced, find the environment you intend to develop in and copy the ID for that environment. Then, add the ID to this command ‘pac env select --environment INSERT ID HERE’. So, the command will look something like 'pac env select --environment xxxxxxxx-xxxx-xxxx-xxxx-xxxxxxxxxxxx'.

Finally, confirm the correct environment has been set, by running the following command in the terminal ‘pac env who’. This should return the environment you selected as the default. In my case, it returns my development environment.

Summary
We’ve now completed the following:
- Checked/updated our version of .NET to 9 or above,
- Installed Visual Studio Code,
- Installed the Power Platform Tools extension within Visual Studio Code,
- Installed PAC CLI,
- Installed the Plugin Registration Tool (Optional at this point),
- Installed Node.js (Optional),
- Registered our default environment.
In the next instalment in this short series, we’ll create our first plugin project. I will show you how to easily create the file structure we are going to need to create a plugin and work with AI to write a simple C# file we can use in our plugin.


Comments